Boat Trailering Checklist: Your Complete Safety Guide
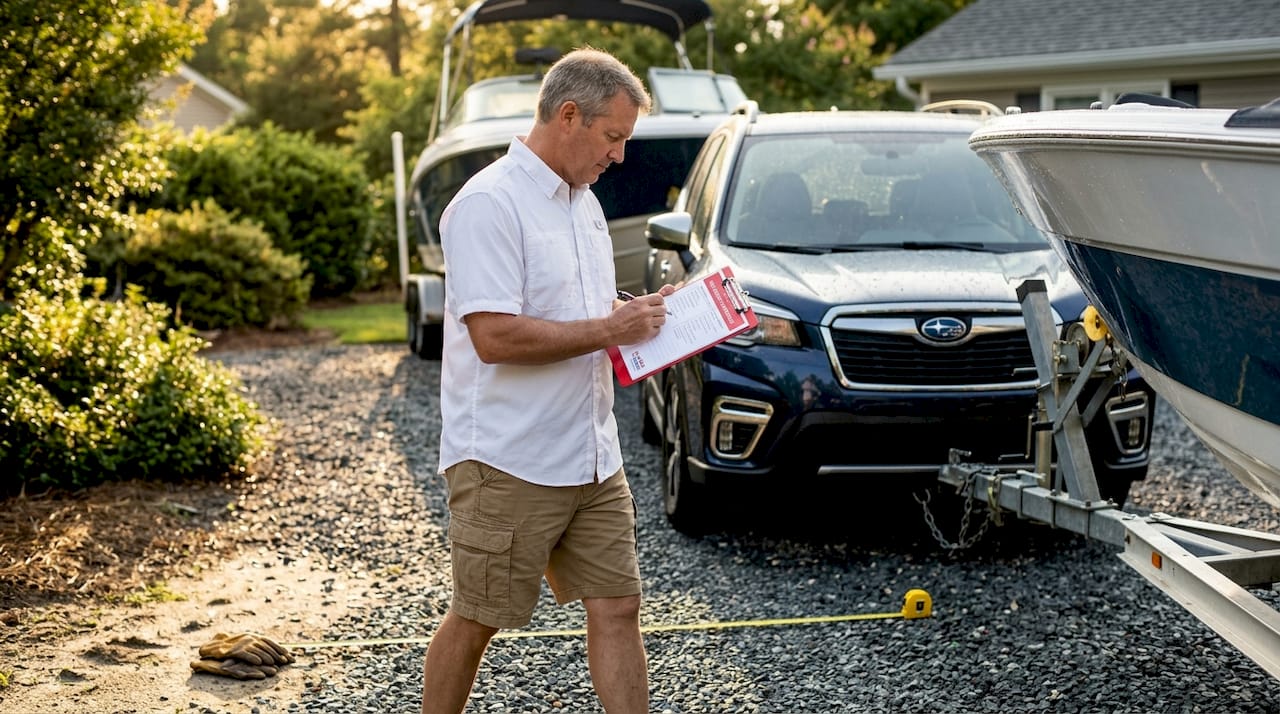
Every year, preventable trailering failures strand boats on the highway, damage expensive equipment, and put other drivers at risk. A solid boat trailering checklist is what separates a smooth launch day from a costly, stressful ordeal. This guide walks you through every critical step, from matching your hitch to verifying tongue weight, so you arrive at the ramp with confidence. Whether you are towing for the first time or the fiftieth, this is the reference you keep coming back to before every trip.
Table of Contents
- Key takeaways
- 1. Verify your tow vehicle and hitch class
- 2. Pre-trip trailer inspection: tires, bearings, and lights
- 3. Load the boat correctly and set tongue weight
- 4. On-the-road safety checks and driving practices
- 5. Pre-launch and post-launch checklist at the ramp
- 6. Annual trailer maintenance and inspection schedule
- My take on what most trailering guides miss
- Take your trailering skills further with certified training
- FAQ
Key takeaways
| Point | Details |
|---|---|
| Match tow vehicle capacity | Loaded boat and trailer weight can exceed dry hull weight by 2,000+ lbs, requiring the right hitch class. |
| Tongue weight determines stability | Maintain 6–10% of gross trailer weight on the tongue to prevent dangerous trailer sway. |
| Tire age matters as much as pressure | Tires older than six years need replacement regardless of tread depth or visual condition. |
| Cool hubs before water entry | Wait 15–20 minutes after driving before submerging trailer hubs to prevent costly seal failure. |
| Annual inspections protect your investment | Axle condition, brake function, and electrical continuity checks once per season prevent major failures. |
1. Verify your tow vehicle and hitch class
Before anything else goes on this checklist, confirm that your tow vehicle can legally and safely handle the load. Recreational boats weigh 3,000 to 10,000 lbs when loaded, and that number climbs fast once you account for fuel, safety gear, coolers, and personal equipment.
The key number to know is Gross Combined Vehicle Weight Rating (GCVWR), which is the maximum your truck or SUV can weigh with a loaded trailer attached. Find it on the door jamb sticker, not in a marketing brochure. Hitch classes run from Class I (up to 2,000 lbs) to Class V (up to 20,000 lbs). Most boat and trailer combinations call for a Class III or Class IV receiver hitch, rated at 3,500 to 10,000 lbs respectively.
Hitch ball size must match the coupler exactly. A 1-7/8 inch ball paired with a 2-inch coupler is a mismatch that will disconnect under load. Look for the size stamped on the ball shank, and physically check that the coupler locks down with zero play.
Safety chains must be crossed under the hitch tongue in an X pattern. If the trailer detaches, the crossed chains catch the tongue and keep it off the pavement so you maintain steering. This is a legal requirement in most states, not a suggestion.
Pro Tip: Find the rating stamp on the hitch receiver itself and compare it to your trailer’s loaded weight. Then do a physical tug test on the coupler after hitching. If there is any upward movement, re-latch and try again before you pull out of the driveway.
2. Pre-trip trailer inspection: tires, bearings, and lights
Tire failure is the single most common cause of roadside trailer breakdowns, and most of them are preventable. Tires older than six years should be replaced regardless of how much tread remains. Trailer tires sit in the sun and carry static loads between seasons, which degrades the sidewall compound from the inside out. Check the DOT code on the sidewall: the last four digits indicate the week and year of manufacture.
Before every trip, check these items:
- Tire pressure. Use cold pressure only, before the trailer moves. Check the trailer placard or tire sidewall for the correct PSI. Under-inflation generates heat and leads to blowouts at highway speed.
- Tread depth and sidewall condition. Look for cracks, bulges, or exposed cords.
- Wheel bearings. Grab each wheel at the 3 and 9 o’clock positions and try to rock it. Any lateral play means the bearing needs service before the trip.
- Bearing lubrication. Bearing Buddy-style caps or grease-nipple hubs should be checked with a grease gun seasonally.
- Brake type and function. Surge brakes activate by inertia when you decelerate. Electric brakes respond to a brake controller in the cab. Either type needs an annual bench test and visual inspection of brake pads or shoes.
For the lighting system, do a walk-around with a helper or use a trailer light tester kit. Check running lights, brake lights, turn signals, and marker lights. Corroded seven-pin connectors are responsible for a large share of lighting failures.
Pro Tip: Spray the seven-pin connector with an electrical contact cleaner and then dielectric grease before each season. A two-minute job prevents hours of troubleshooting at the ramp.
3. Load the boat correctly and set tongue weight
How you position the boat on the trailer affects stability on every mile of road. The trailer frame should be level when loaded, with no more than a two-inch height difference between the front and the back when measured at the frame rail. A larger difference shifts load rearward, strains the rear axle, and accelerates tire and bearing wear.
Follow this sequence when loading:
- Back the trailer into the water until the bow bunks are submerged. Keep the winch post above the waterline if possible.
- Float the boat onto the bunks slowly. Use the winch to pull the bow snug against the bow stop rather than using engine thrust. Manual guidance using bow lines aligns the hull on the bunks better than engine power and prevents hull stress and ramp damage.
- Once on the bunks, check that the keel sits centered on every bunk roller or pad.
- Attach the bow safety chain as a backup to the winch strap.
- Run a stern tie-down strap over the transom to anchor points on the trailer frame. Use two straps if the boat is over 20 feet.
- Add mid-hull straps if the manufacturer recommends them.
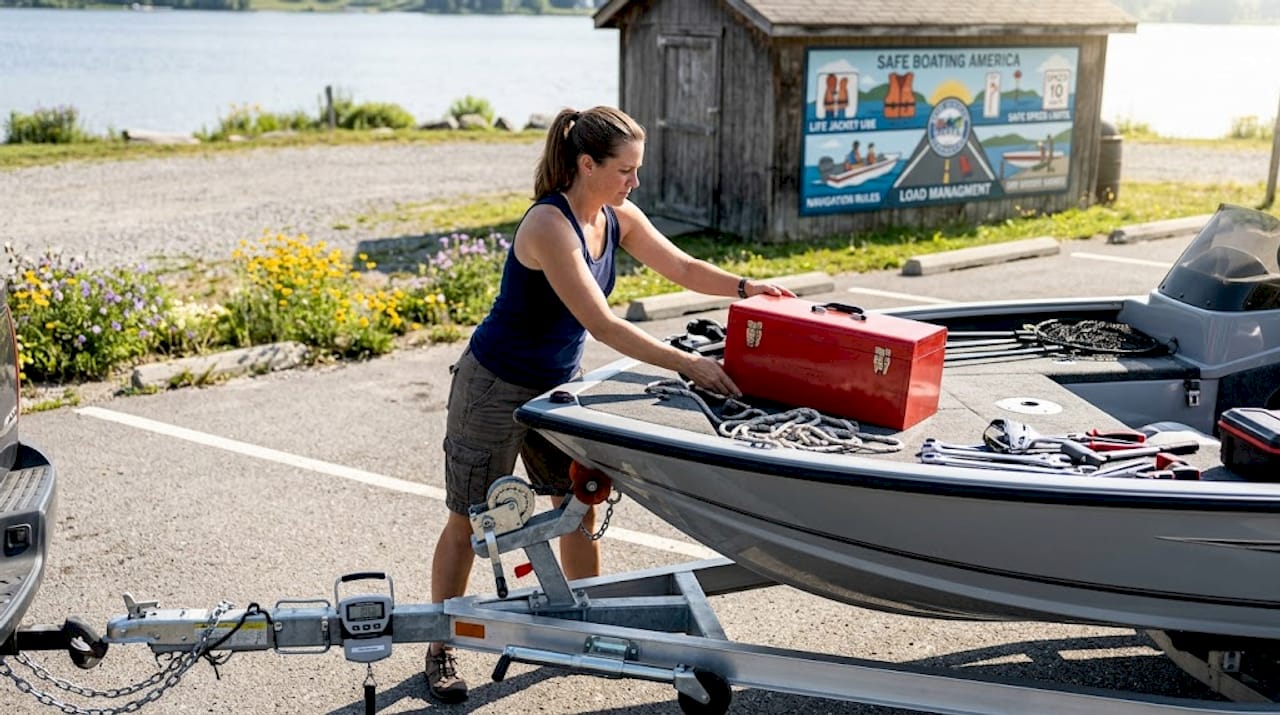
Optimal tongue weight is 6 to 10 percent of gross trailer weight. On a 4,000-pound loaded trailer, that is 240 to 400 pounds pressing down on the hitch ball. Too little tongue weight causes the trailer to fishtail. Too much weight on the tongue lifts the rear wheels of the tow vehicle, which reduces steering and braking traction.
Pro Tip: Move heavy gear like batteries, toolboxes, and anchor tackle forward of the axle rather than in the stern of the boat. Small shifts in load position have a measurable effect on tongue weight without adding a single pound to the total.
4. On-the-road safety checks and driving practices
Once you are on the road, your checklist does not end. The first ten minutes of any trip are when problems reveal themselves.
Pull over one mile from the start and check:
- Lug nuts. New wheel installations and the first trip of the season both warrant a torque check. Trailer lug nuts vibrate loose faster than most people expect.
- Hitch coupler. Verify the latch pin is still fully seated and the safety pin has not backed out.
- Tie-down straps. Confirm the bow strap and stern straps are still tight. Load shifts during the first turns.
- Lights. Ask a passing driver or use your mirrors to confirm brake lights are still working.
Towing mirrors are non-negotiable if your boat and trailer are wider than your truck. Clip-on mirror extensions are inexpensive and dramatically improve your visibility of the trailer wheels and surrounding traffic.
Safe towing speed depends on trailer weight, tire speed rating, and road conditions. Most trailer tires carry a maximum speed rating of 65 MPH. Heat builds up in tires proportionally to speed, so highway cruising near the tire’s rated maximum leaves no margin for a slow tire or unexpected braking. Keep a 60 MPH target on the highway and extend following distance to at least four seconds. If the trailer begins to sway, do not brake sharply. Gradually reduce throttle and steer straight until the oscillation damps out.
5. Pre-launch and post-launch checklist at the ramp
The boat ramp is where the most equipment damage and accidents happen. A checklist approach here pays off more per minute than anywhere else.
Before backing down the ramp:
- Remove all tie-down straps except the bow safety chain.
- Disconnect the trailer lighting harness from the tow vehicle to prevent electrical damage from submersion.
- Install drain plug. This is the item most commonly forgotten.
- Lower the engine or drive unit if it is a trailerable boat.
- Remove motor support brackets or transom savers.
After backing into the water and before float-off:
- Confirm the drain plug is seated. Check it twice.
- Have a crew member ready on the dock with a bow line.
Wait 15 to 20 minutes after driving before submerging the trailer hubs in water. Hot bearings and cold water create thermal shock that damages seals and pulls water into the grease cavity. A single incident can ruin a set of bearings that would otherwise last years. This is the most overlooked step in any boat launch checklist.
After retrieval and return to the parking area, reconnect your electrical harness, rinse saltwater trailers thoroughly, and re-tension all straps before the return trip home.
6. Annual trailer maintenance and inspection schedule
Seasonal maintenance separates trailers that last twenty years from trailers that fail at year five. Use this comparison to build your annual service schedule:
| Inspection Item | Frequency | Signs of Trouble |
|---|---|---|
| Brake pads or shoes | Annually or every 12,000 miles | Grinding, reduced stopping, brake fade |
| Wheel bearing repack | Annually, or after saltwater use | Lateral wheel play, heat at the hub |
| Axle bow inspection | Annually | Uneven tire wear, trailer pull to one side |
| Electrical continuity | Start of season | Intermittent lights, corrosion at connectors |
| Frame and cross-member rust | Annually | Flaking, deep pitting, soft spots underfoot |
| Hitch ball and coupler wear | Every trip | Visible wear grooves, coupler slop |
| Floor and latch condition | Annually | Soft flooring, latch failure to close fully |
Uneven frame loading leads to axle bowing, which accelerates tire failure and creates unsafe handling characteristics on the highway. An axle that bows even slightly changes the scrub angle of the tires, and the tire wear pattern tells the story clearly. Check both tires on each axle for matching wear.
For electrical systems, an annual soak-test where you submerge the tail light assemblies confirms seal integrity. Many trailer owners skip this until a light floods mid-season.
Pro Tip: Keep a small binder or digital note in your phone with dates of each service item. Trailers do not log miles the way vehicles do, so the calendar year is your primary maintenance trigger. Skipping one season of inspection compounds into a much larger and more expensive repair two seasons later.
My take on what most trailering guides miss
I have watched a lot of boat owners obsess over dry hull weight when shopping for a tow vehicle, then show up at the ramp with a rig that is technically legal but practically dangerous. Dry weight is nearly irrelevant. What counts is the loaded weight with full tanks, gear, safety equipment, coolers, and the trailer itself. In my experience, that number routinely exceeds the dry weight by 2,000 pounds or more.
The tongue weight issue trips up experienced towers just as often as beginners. I have seen near-misses on the interstate caused by trailers loaded perfectly within legal limits but with all the heavy gear stored aft of the axle. The result is a trailer that tracks beautifully until you hit 60 MPH, then begins a slow oscillation that tightens until the driver has a real problem. Moving a battery bank forward 18 inches fixed it completely.
The seven-point pre-departure check I always run is: coupler latch, safety chains crossed, tires pressured, lights working, tie-downs tensioned, drain plug installed, and hubs at resting temperature before backing in. None of these steps takes more than 90 seconds. Together they cover the vast majority of failures that end up on the side of the road or underwater.
My other contrarian view: guide the boat in manually at the ramp whenever possible. Engine power loading damages hulls, ramp surfaces, and relationships with every other boater waiting in line. Bow line guidance is slower by two minutes and better in every other measure.
— Richard
Take your trailering skills further with certified training
Knowing your boat trailering checklist is a strong start. Pairing that knowledge with certified boating safety education makes you a more prepared and legally compliant operator on the water and on the road.
Safeboatingamerica offers state-approved boating courses available nationwide, covering trailering basics, launching procedures, navigation rules, emergency protocols, and legal compliance for every state. Courses are taught by USCG-Licensed Captains and State Certified Instructors using NASBLA-approved materials. If you are in Florida, the Florida PWC certification course includes hands-on trailering and launch safety instruction aligned with state requirements. Arizona boaters can complete the Arizona boating certification fully online with same-day certificate options. For a full overview of certification programs and state requirements, visit Safeboatingamerica and find the course that matches your state and schedule.
FAQ
What is the correct tongue weight for a boat trailer?
Tongue weight should be 6 to 10 percent of the gross trailer weight. On a 4,000-pound loaded trailer, that equals 240 to 400 pounds on the hitch ball.
How old is too old for trailer tires?
Tires older than six years should be replaced regardless of tread condition. Sidewall degradation from UV exposure and static loading happens invisibly.
Why do trailer hubs need to cool before launch?
Hot hubs submerged in cold water experience thermal shock that damages bearing seals and draws water into the grease. Waiting 15 to 20 minutes after driving prevents this failure.
Do safety chains need to be crossed?
Yes. Safety chains must be crossed under the hitch tongue so they can cradle the coupler if it disconnects, keeping the tongue off the road and preserving steering control.
What hitch class does most boat trailering require?
Most loaded boat and trailer combinations fall in the Class III or IV hitch range, rated from 3,500 to 10,000 lbs, depending on the total loaded weight of your specific rig.
Recommended
- How to Perform a Boat Safety Inspection Step by Step - Safe Boating America
- Essential boating electronics for safe and legal operation - Safe Boating America
- What is boating safety education: your guide to certification - Safe Boating America
- USCG boating safety compliance: clear steps for safer boating - Safe Boating America